BIGSHINE
Slow Retraction Manual Screen / SR-L
Manual pull-down projection with slow retraction for meeting rooms, classrooms and home viewing.

Slow retraction manual screen / SR-L
Pull down. Pause. Present.
The BIGSHINE SR-L is a manual pull-down projection screen for meeting rooms, classrooms and home viewing. Pull to your preferred height, pause to lock it, then give the handle a short pull to start the slow return into its aluminium casing.
- Screen type
- Manual, slow retraction
- Viewing angle
- 160° / 1.1 gain
- Warranty
- 12 months
Suitable for standard and short-throw projection. Unsuitable for ultra-short-throw projection.
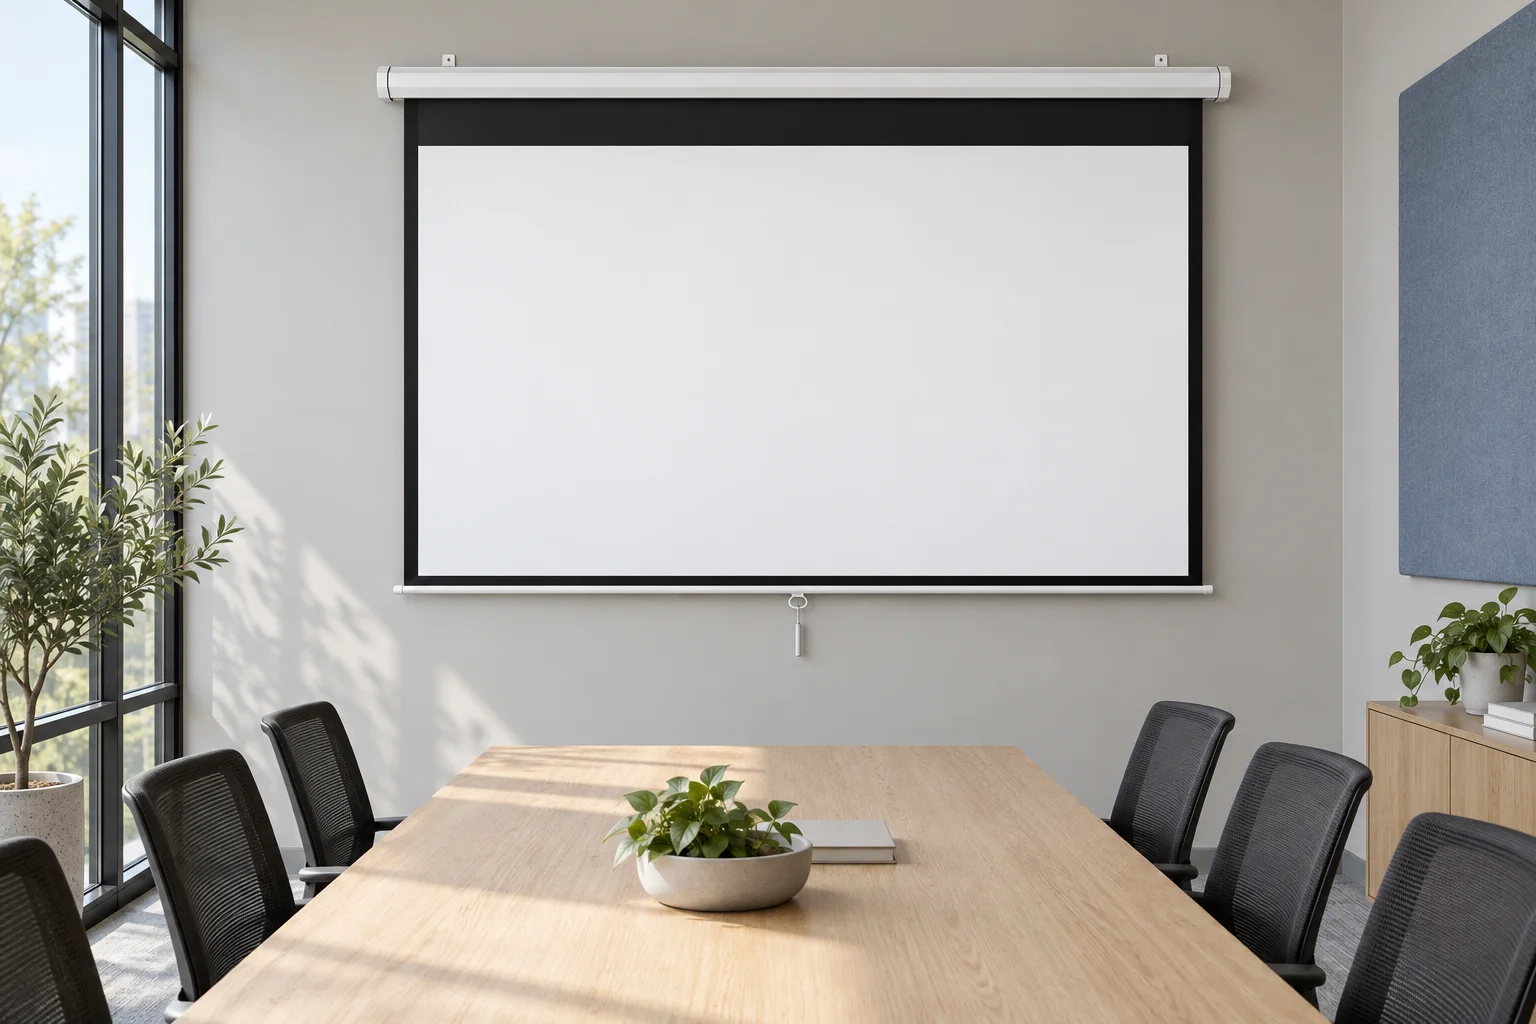
A quiet casing. A clear viewing surface.
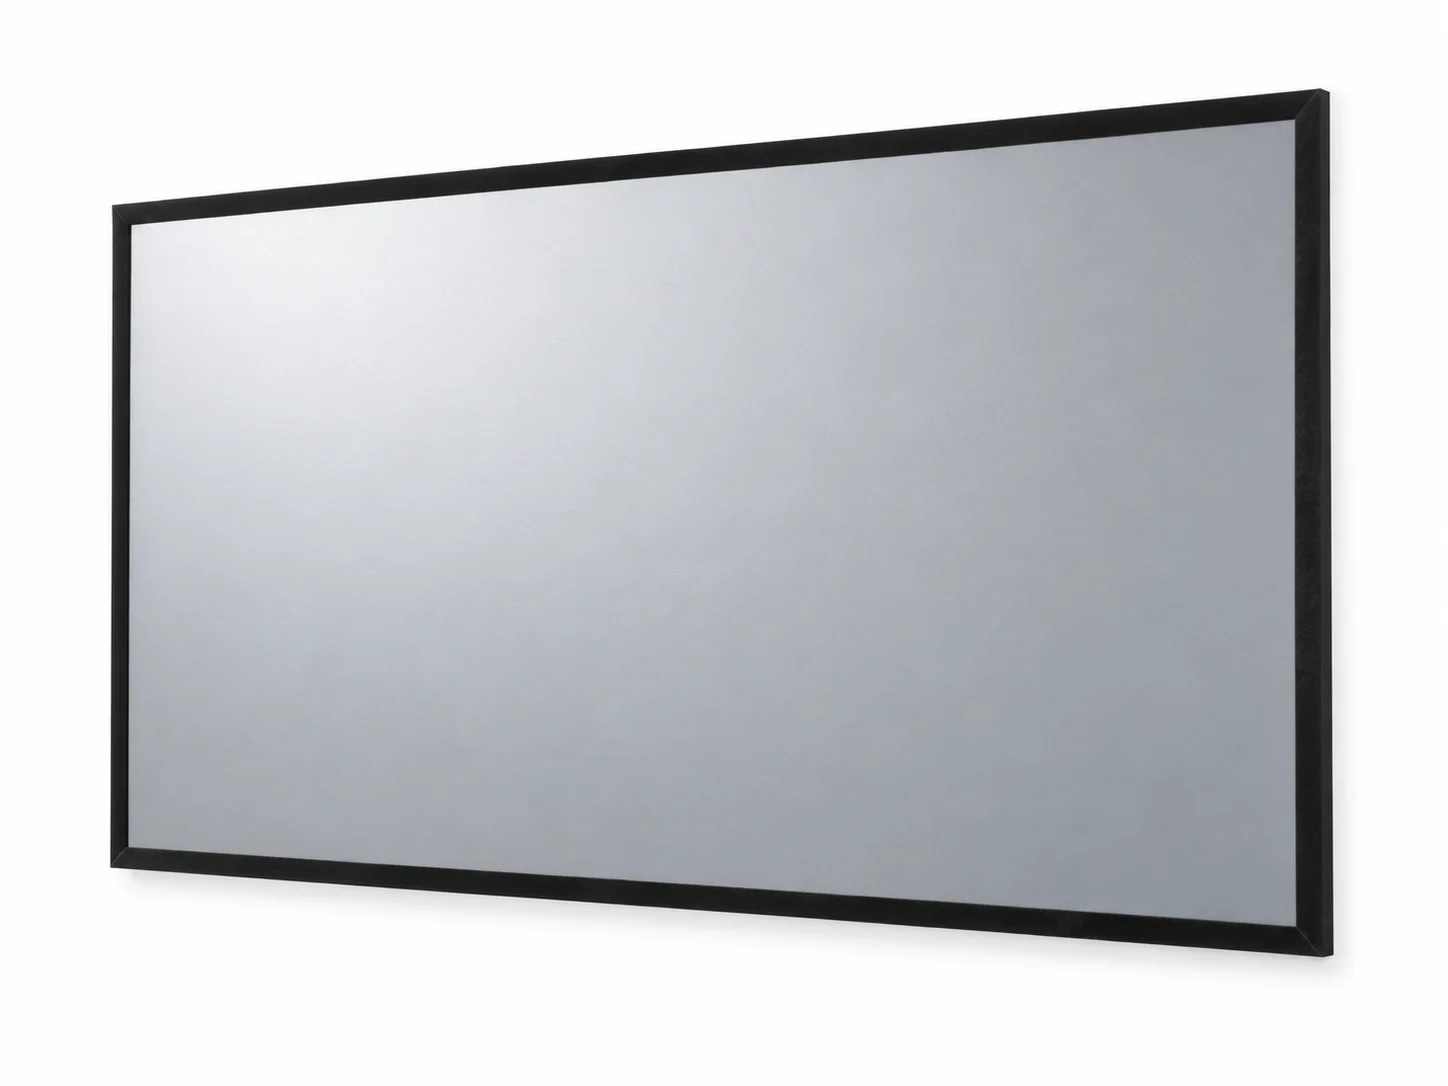
A white powder-coated aluminium housing sits above matte white projection fabric. The SR-L brings a retractable viewing surface to everyday rooms, with manual height setting and a slow-retraction mechanism.
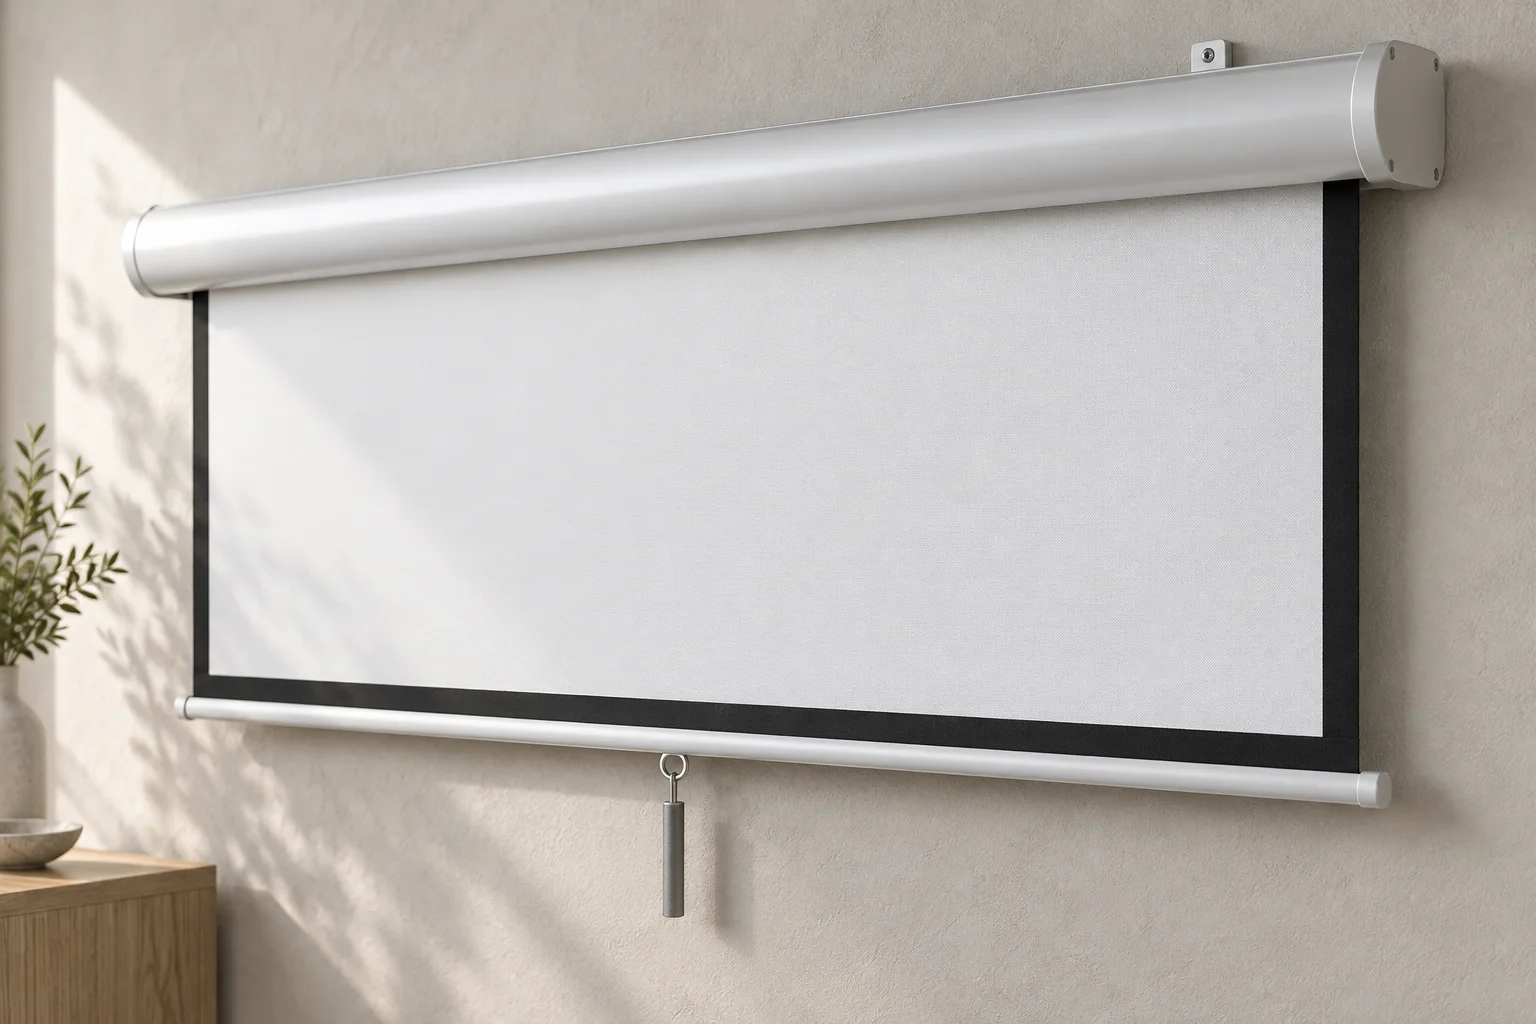
Powder-coated aluminium casing
The white aluminium alloy casing protects the rolled-up fabric between uses. Its listed profile is 92 mm deep × 101 mm high; allow for the brackets and access when planning a recess.
Matte white projection fabric
Listed at 1.1 gain with a 160° viewing angle. Black masking frames the image, while the centre pull handle lets you lower the screen without touching the projection surface.
Size, casing, operation and fit.
Match the drawing to one of six models, check the manual operation, then plan the mounting and recess. Measurements and retail prices below follow the verified product records.
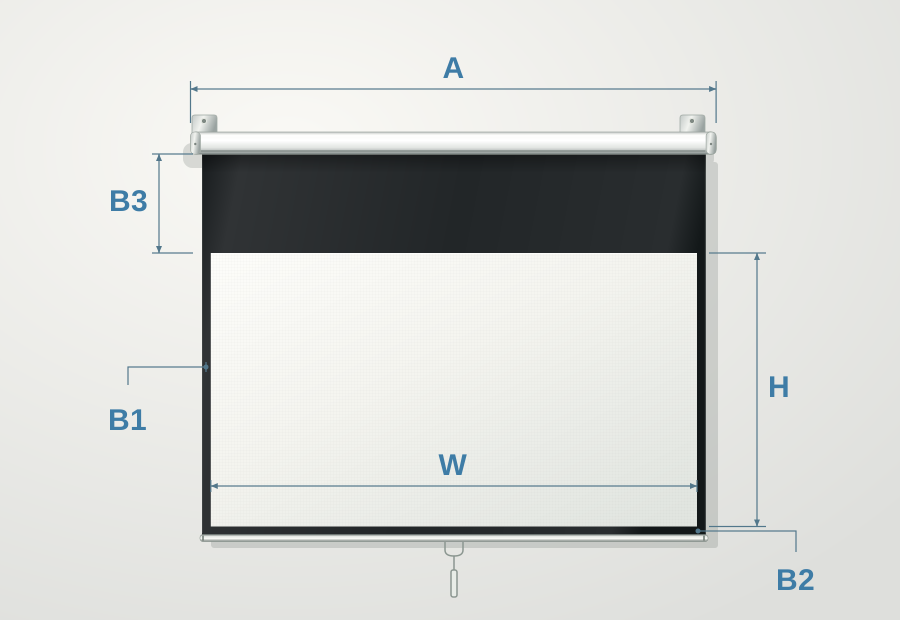
05 All six sizes mm unless noted
A wide viewing surface for 16:9 projection.
3 modelsA square viewing surface for 1:1 projection.
3 models| Model | Sizein diagonal | Priceex GST | W × Himage | Acasing | B1side | B2bottom | B3top | Weightkg | RecessA + 100 mm* | Mounts≈ A ÷ 3 apart* |
|---|---|---|---|---|---|---|---|---|---|---|
| 16:9 Widescreen | ||||||||||
| SR-L80W | 80 | S$229.36 | 1,778 × 991 | 2,024 | 40 | 40 | 450 | 9.1 | 2,124 | ≈ 675 |
| SR-L100W | 100 | S$275.23 | 2,210 × 1,243 | 2,389 | 40 | 40 | 450 | 10.8 | 2,489 | ≈ 796 |
| SR-L120W | 120 | S$403.67 | 2,667 × 1,500 | 2,846 | 40 | 40 | 450 | 12.9 | 2,946 | ≈ 949 |
| 1:1 Square | ||||||||||
| SR-L70 | 100 | S$192.66 | 1,778 × 1,778 | 1,937 | 30 | 30 | 45 | 9.1 | 2,037 | ≈ 646 |
| SR-L84 | 120 | S$243.12 | 2,134 × 2,134 | 2,313 | 40 | 40 | 45 | 11.1 | 2,413 | ≈ 771 |
| SR-L96 | 136 | S$330.28 | 2,438 × 2,438 | 2,617 | 40 | 40 | 45 | 12.7 | 2,717 | ≈ 872 |
Retail ex GST. *Planning calculations from the brochure’s allowance and spacing guidance; confirm against the actual brackets and installation site.
06 Manual operation
A centre pull handle sets the height and releases the slow-retraction mechanism.

1. Pull to the height
Use the centre handle to lower the screen to the desired viewing height.

2. Hold for three seconds
Hold the handle still for three seconds to lock the screen at that height.

3. Pull, then release
Pull down 1–2 cm and release the handle to let the screen retract slowly into the casing.
07 Mounting hardware
- 01Casing top channel and sliding I-beam locking pieces
- 02L-mount brackets with rear casing hooks
- 03Bracket screws and fixing tools shown in the brochure
- 04Wall or ceiling fixings suited to the substrate and load
The brochure illustrates the bracket arrangement, rather than a guaranteed packing list. Confirm the supplied bracket kit, tools and fixings before installation.
Ceiling brackets are listed as optional in the product records. Confirm the required ceiling kit when ordering.
08 Recess and load
Indicative recess calculations
- Length
- A + 100mm
- Height
- 201mm
- Depth
- 192mm
- The brochure asks for at least 100 mm extra in length, height and depth. These calculations exclude the final bracket envelope; confirm fit and service access.
- Its approximate bracket spacing is one third of casing length, A. Confirm fixing positions for the supplied kit.
- Check the wall or ceiling, brackets and anchors can safely carry the chosen model’s weight from the table.
- Secure the casing level and keep the fabric path clear.
Wall or ceiling mount.
SR-L brochure guidance. Illustrative, not to scale.
Six brochure steps, seen from behind the screen so the bracket hooks are visible.
Three parts
The I-beam rides in the channel on top of the casing. The L-mount’s top channel slides over the I-beam, and the hook at its foot catches the lip on the back.
On the wall
Screws go through the back leg of the L-mount into the wall.
From the ceiling
Screws go up through the top of the L-mount into the ceiling.
01Release the I-beam
Unscrew the I-beam and slide it out of the casing channel.
02Lift off the L-mount
Detach the L-mount from the casing. Repeat for the second bracket.
03Position the brackets
Align and fix the two L-mounts to the wall or ceiling.
04Hook on the casing
Hang the casing onto the back hook of each L-mount.
05Return the I-beam
Slide the I-beam to the middle of each L-mount and fasten it with the supplied tools and screws.
06Mounted in position
The casing is supported by both brackets, with the locking pieces secured.
Based on the original SR-L brochure’s wall and ceiling views and six mounting steps. Shared schematic profiles are illustrative and not to scale. Confirm the supplied bracket kit, substrate fixings and spacing with your installer; ceiling brackets are listed as optional in the product records.
10 Use and care
After each use
- Retract the screen into its casing after use to protect it from dust and dirt.
- Keep the casing level and securely mounted so the fabric rolls straight.
- Do not pull the sides, fold the fabric, hang objects on the screen or climb on it.
- Do not disassemble the screen. Contact Big Shine for repairs or maintenance.
Protect the viewing surface
- Clean the screen surface with a dry, soft cloth only.
- Do not use chemical cleaners or alcohol.
- Keep hands, pens and sharp objects away from the projection surface.
- The brochure notes that faint horizontal lines or marks along the black borders after long storage can fade after the screen has been unrolled for a while.
- Model measurements, weights and retail ex-GST prices use the verified product-record snapshot. These measurements take precedence over conflicting legacy brochure figures.
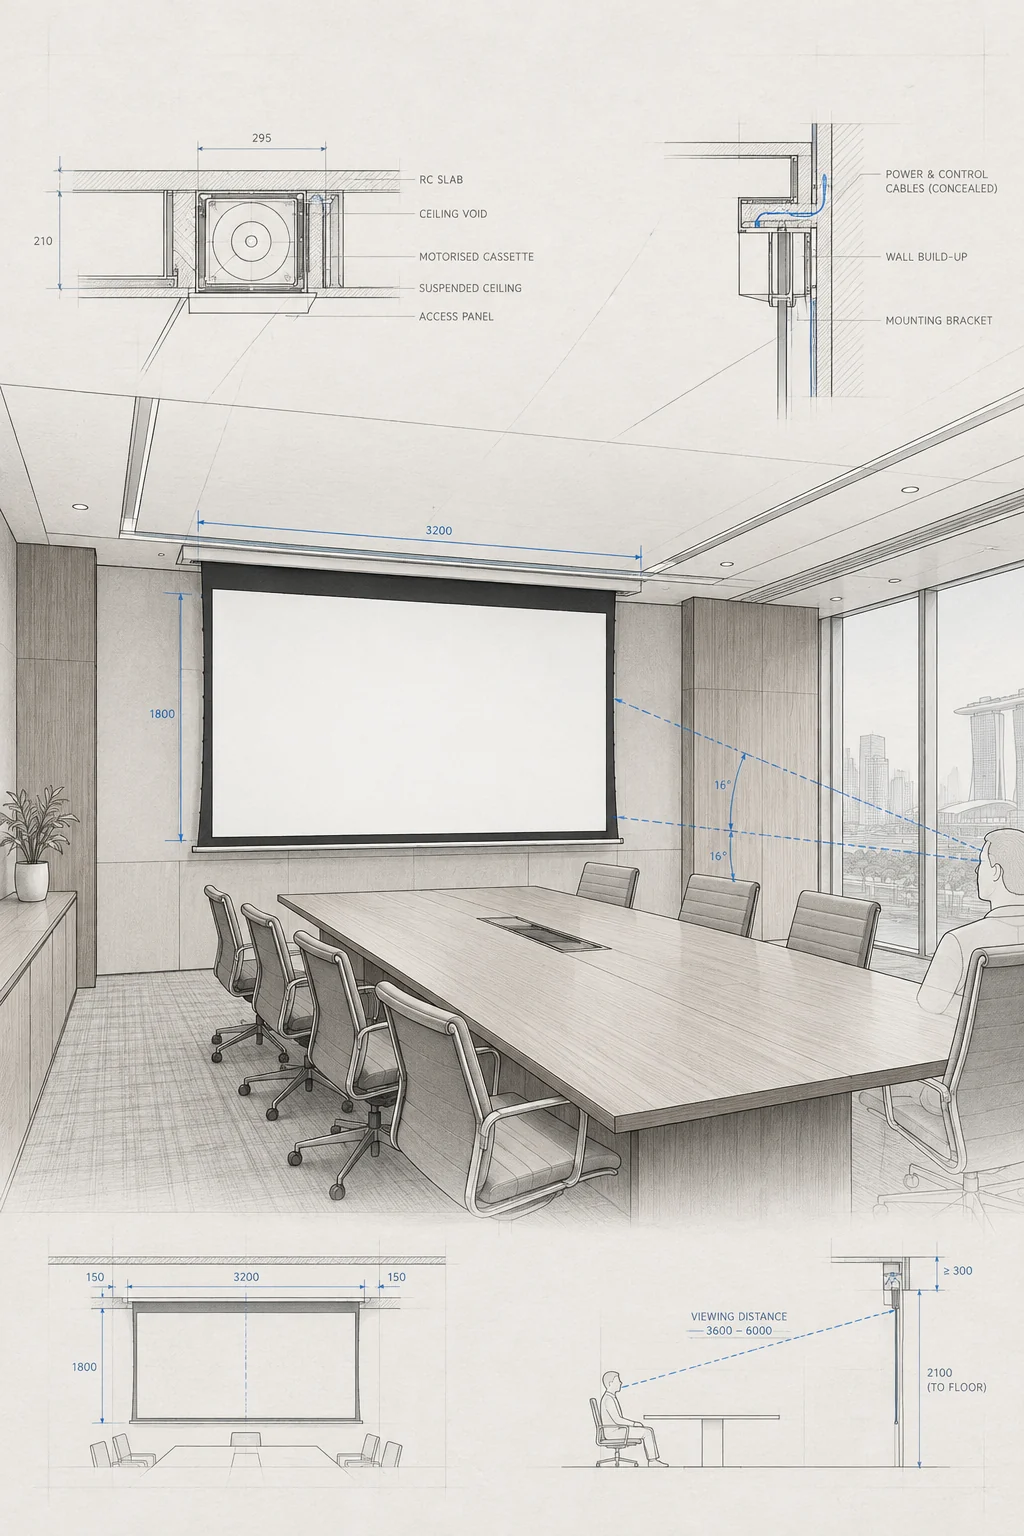
- Room studies, hardware profiles and operation drawings are illustrative planning references. Confirm current-stock dimensions, bracket kit and installation clearances.
- Operation and mounting follow the original SR-L brochure. Cleaning follows the product records: use a dry, soft cloth.
Gallery