BIGSHINE
EZ Tripod Screen / STS
A portable manual scroll screen for meetings, classrooms and events, with optional tripod or wall-hook support.

EZ tripod screen / STS
Open the legs. Find the frame.
The BIGSHINE EZ Tripod Screen is a portable manual scroll screen for classrooms, meetings, seminars and home viewing. Its top hook can hang from an optional tripod or wall hook; choose the support arrangement for the room before setting the height.
- Screen type
- Portable manual tripod / hook
- Projection surface
- Fiberglass matte white fabric
- Warranty
- 12 months
Suitable for normal-throw and short-throw projection. Unsuitable for ultra-short-throw projection.
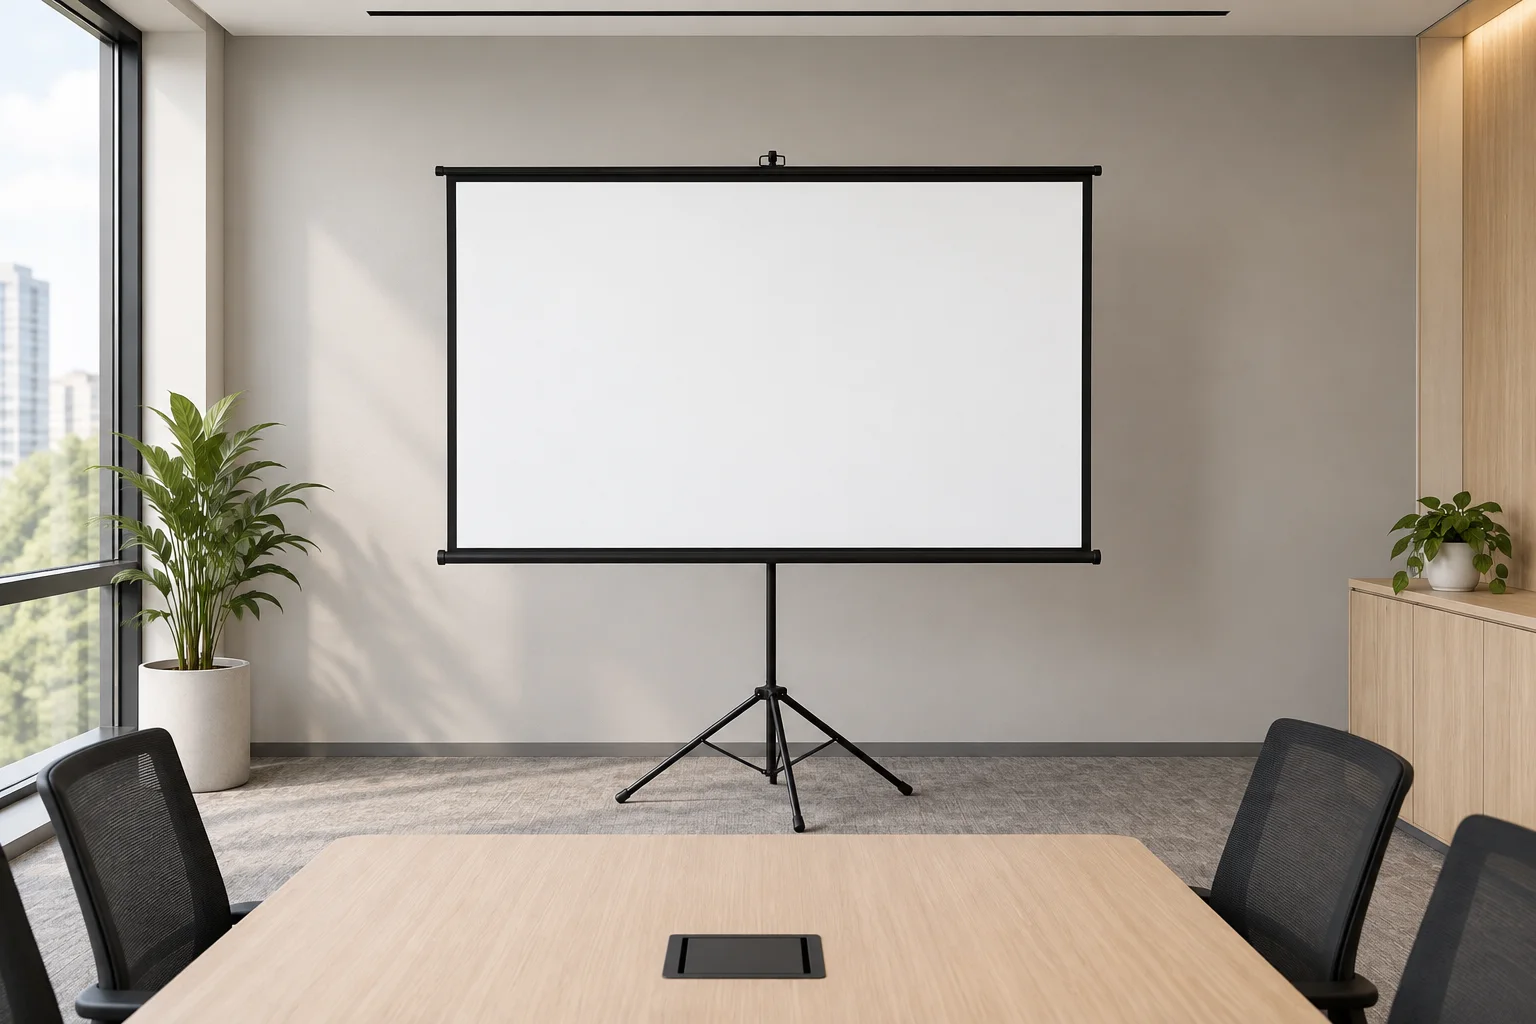
A simple frame for changing rooms.
The STS pairs a black-edged matte white surface with a compact roller case and adjustable support. Open the legs or secure the wall hook, set the lock nut, then release the Velcro and unroll the screen level.
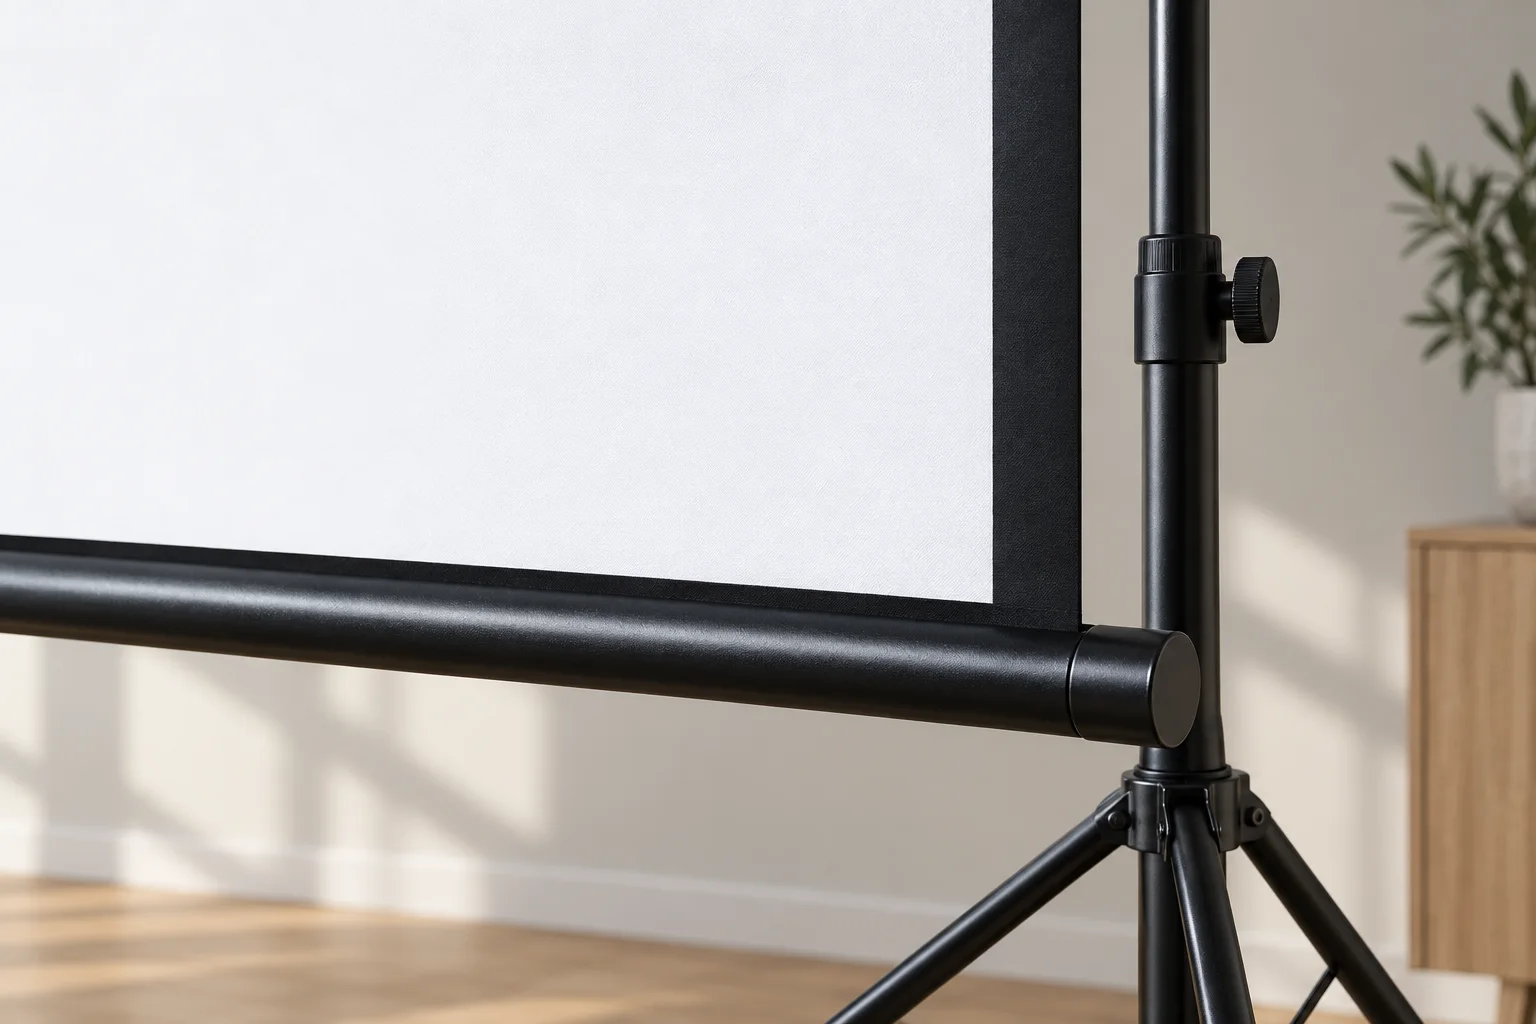
Fiberglass matte white fabric
The current family record identifies a fiberglass matte white surface; the brochure shows a non-reflective black lower section. The records do not state a numeric gain, so projector placement should be checked in the room.
Tripod or wall hook
Use the optional tripod for a free-standing setup or the optional wall hook where the room provides a secure fixing point. The 100-inch screen needs two tripods for stability; enquire for the required accessories.
Open, level, present.
Compare six sizes across 4:3 and 16:9, choose the support arrangement, then check the setup and care sequence. Prices come from the current product records; dimensions and weights are brochure planning references.

05 Six models mm unless noted
A balanced surface for 4:3 presentation content.
3 modelsA wide surface for 16:9 video and presentation content.
3 models| Model | Sizein diagonal | PriceRetail ex GST | Aimage W | Bimage H | Loverall | Cborder | Weightkg |
|---|---|---|---|---|---|---|---|
| 4:3 Standard | |||||||
| STS-60 | 60 | S$91.74 | 1,219 | 914 | 1,317 | 30 | 2.39 |
| STS-80 | 80 | S$105.50 | 1,626 | 1,219 | 1,744 | 40 | 3.12 |
| STS-100 | 100 | S$119.27 | 2,032 | 1,524 | 2,150 | 40 | 3.80 |
| 16:9 Widescreen | |||||||
| STS-60W | 60 | S$91.74 | 1,321 | 743 | 1,444 | 30 | 2.73 |
| STS-80W | 80 | S$105.50 | 1,778 | 1,000 | 1,876 | 40 | 3.49 |
| STS-100W | 100 | S$119.27 | 2,210 | 1,243 | 2,328 | 40 | 4.15 |
Verified retail prices ex GST. Dimensions and weights are brochure planning references; confirm the supplied model before ordering.
06 Set up and support
Open legs
Open the tripod legs on a level surface.
Lock height
Adjust the height, then tighten the locking nut.
Hook screen
Place the screen’s top hook on the support.
Unroll
Release the Velcro and unroll the surface level.
Optional tripod
Free-standing setup. Use two tripods for the 100-inch model.
Optional wall hook
Wall-mounted setup. Confirm substrate and hook.
Family installation guidance: Open the tripod legs, adjust the height with the locking nut, hook the screen, then unroll it by releasing the Velcro.
100-inch stability: Screen prices cover the screen. Tripod stands and wall hooks are optional accessories; enquire for the required setup. Use two tripods for the 100-inch screen for stability.
07 Care and storage
Set and secure
- Open the tripod on a level surface and tighten the locking nut before raising the screen.
- Keep the screen level and secure; use two tripods for the 100-inch model.
- Roll the screen up after every use and store it upright.
Protect the surface
- Clean the projection surface with a dry, soft cloth only.
- Do not touch, write on, point at or scratch the projection surface.
- Do not pull on the sides or fold the screen. Keep it away from moisture and dirt.
- Prices and warranty follow verified product records. Optional support accessories are enquiry-only.
- Model dimensions and weights are transcribed from the original brochure specification sheet. STS brochure dimensions carry a ±1.5 inches tolerance.
- Read the original product page for the source context. The setup sequence follows the family installation guidance; support options are enquiry-only. Care uses the current family guidance: dry, soft cloth only.


